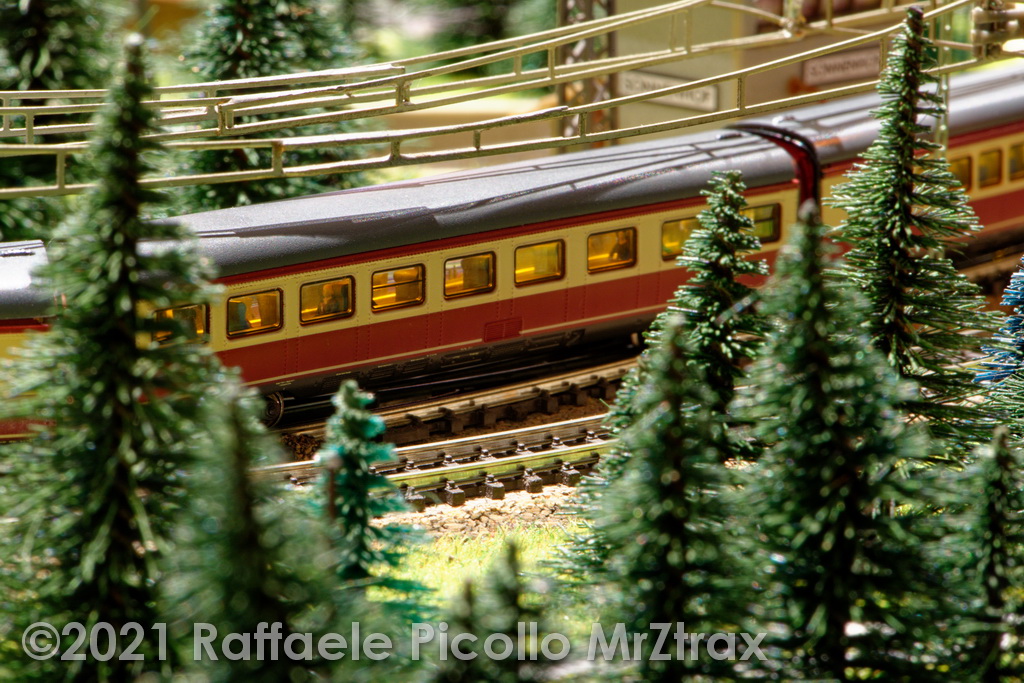
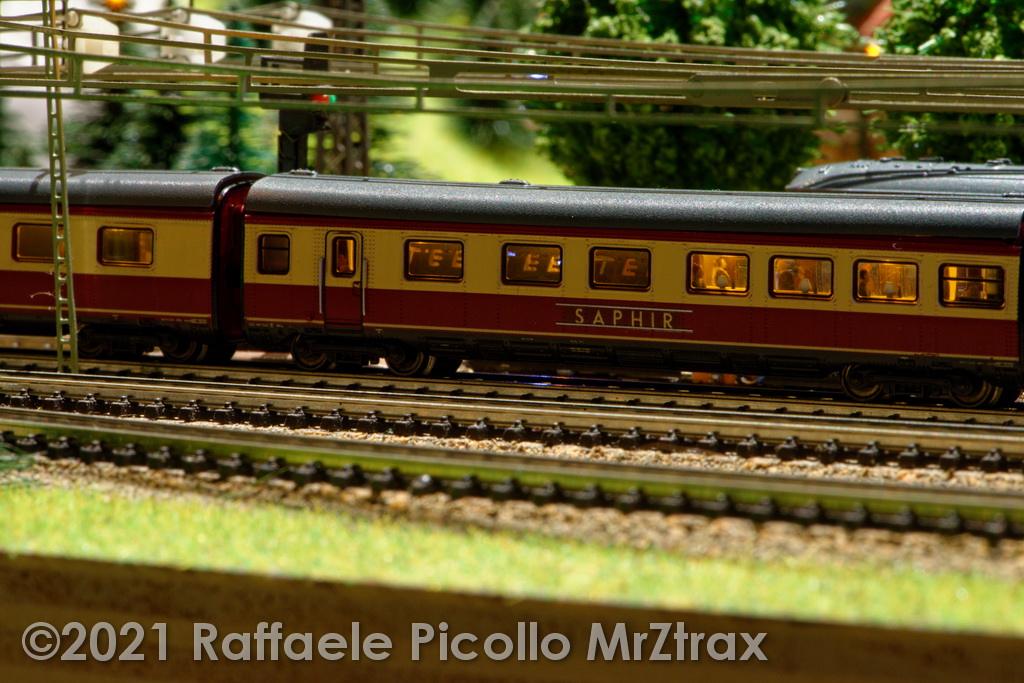
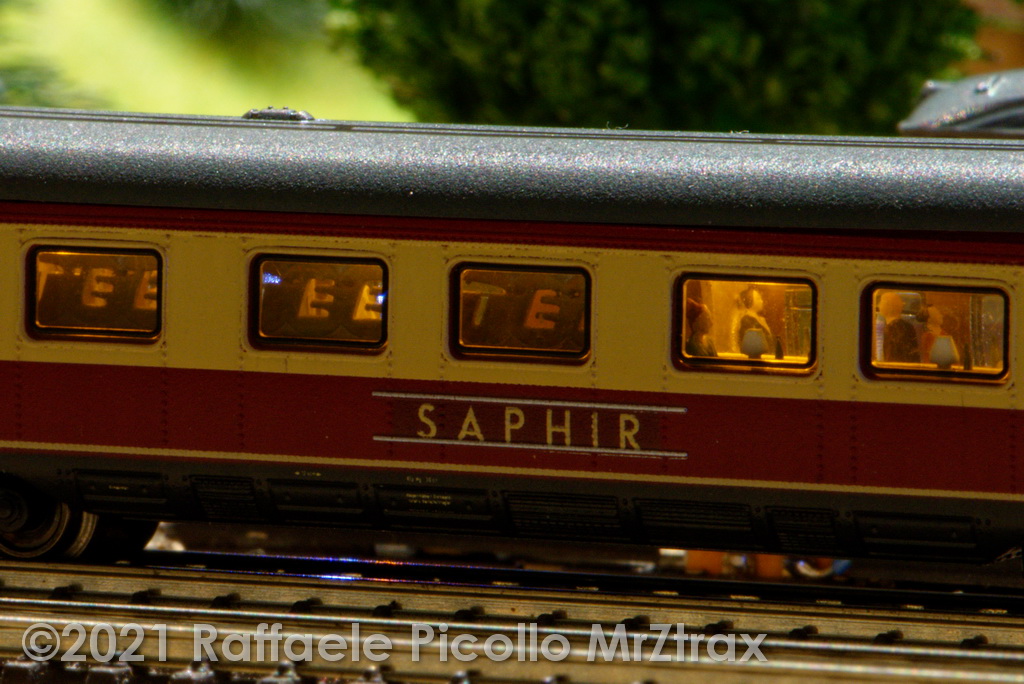
Making interior plates for our VT11.5
The VT11.5 Märklin train
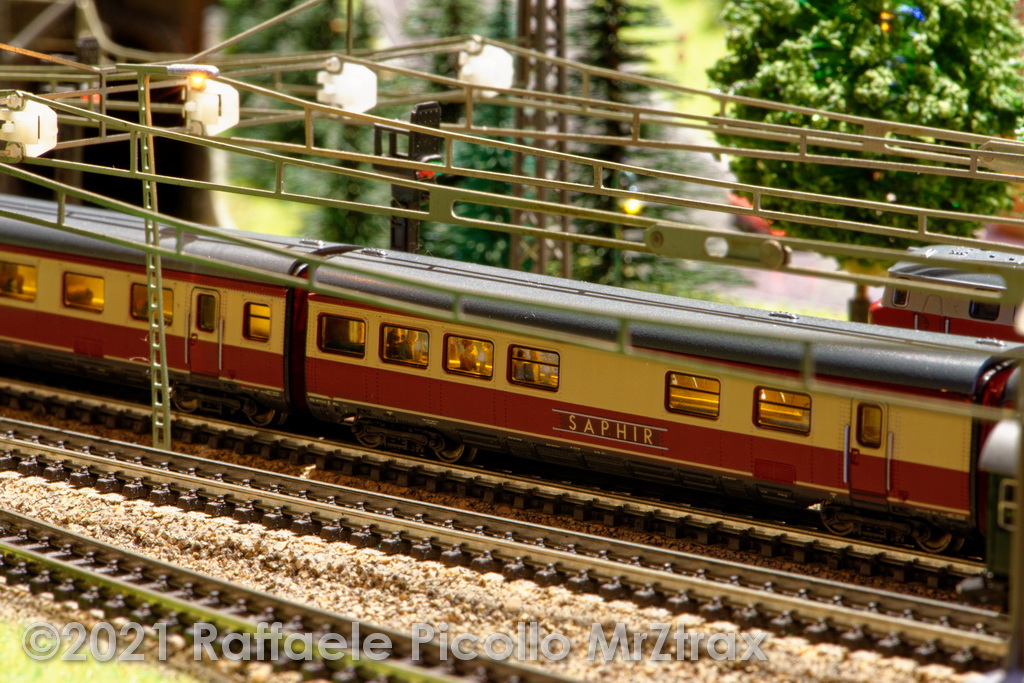
In Z scale, the VT11.5 has been realized by Märklin in different models, from the first item n.8873 (1994-1998), to the n.88731 (1997 BR601), n.88732 (2000-2002 "Alpen-See-Express"), n.88733 (2007 "Saphir"), n88734 (2010 "Mediolanum"), n.88735 (2012 "Blue Star Train").
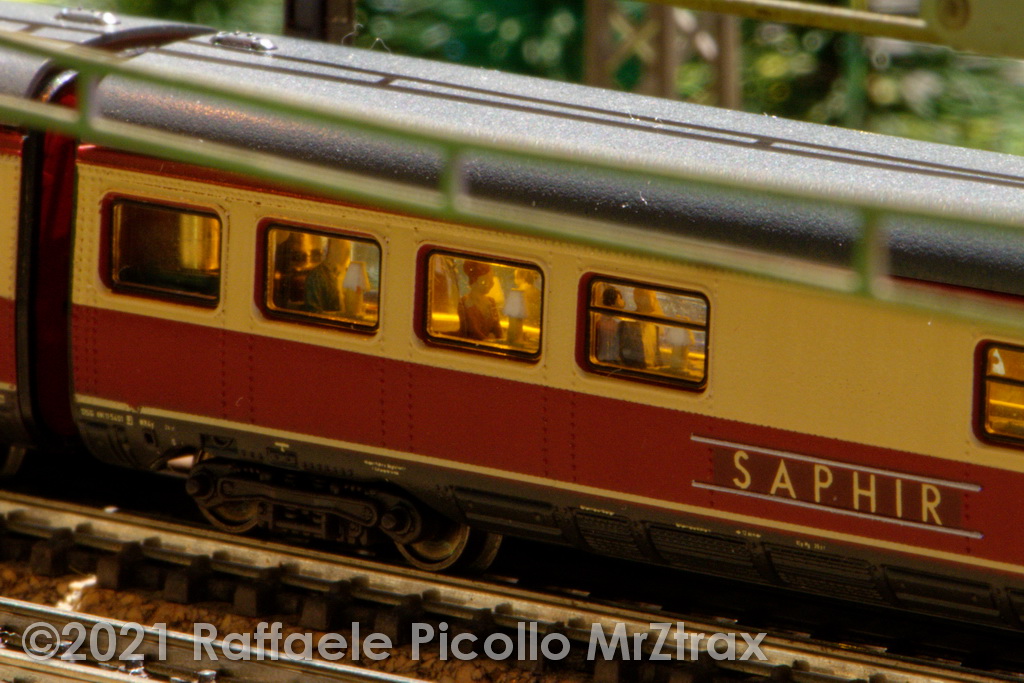
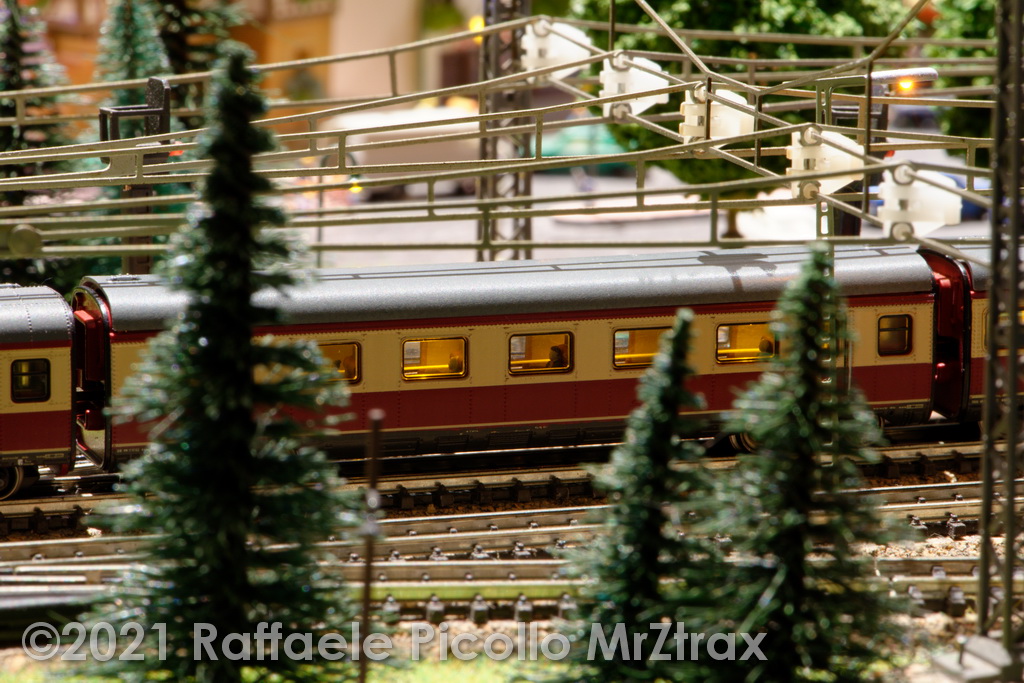
It's one my my preferred trains and it has a beautiful inner lighting system, but it has no seats or figures inside.
That's why I thought to realize them by myself, from some of the many publications anout this wonderful train that is a real milestone of the luxury train in Europe and the world.
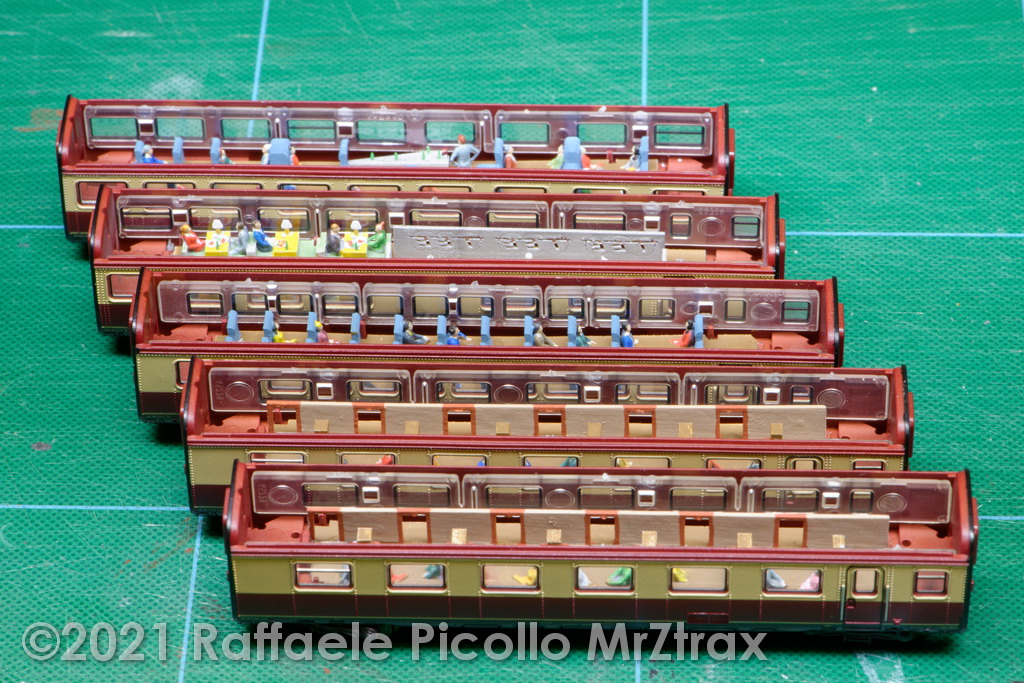
By reading about original internal disposition of the original cars, I prepared the 3D drawings after having verified the excact dimensions of the Märklin models, thus checking their perfect correspondance to the original train.
Due to the presence of the lighting system, I had to simpify the correct disposition of seats and furniture, trying to get as close as possible to the original internal disposition of the cars.
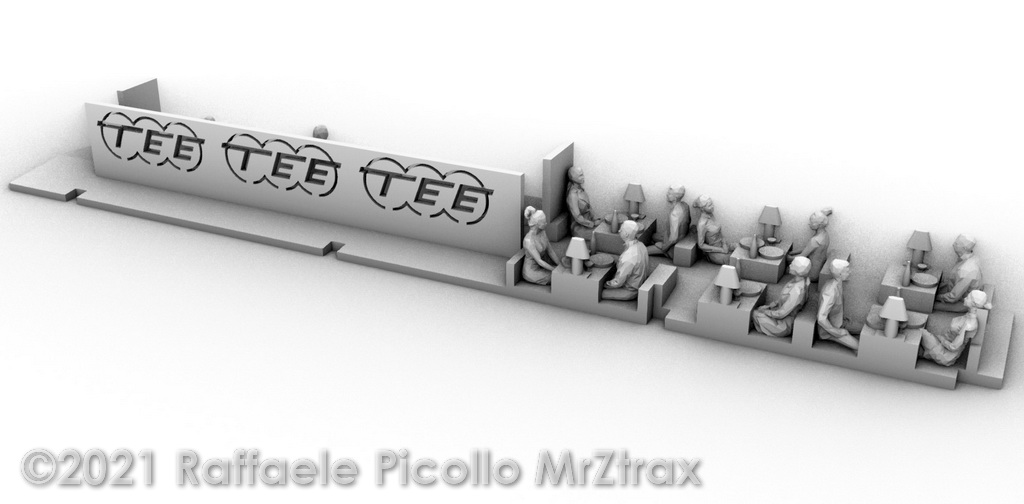
So, let's start fron the restaurant car, with the tables set with plates, bottles, glasses and people having lunch. Inside the kitchen, cooks are at work. A scenic trick: the wall that separates the kitchen from the side aisle is cut by the TEE logo, so as to avoid leaving the corridor in the shade. A small invention that, while not existing in reality, avoids having one of the two sides of the car in the dark.
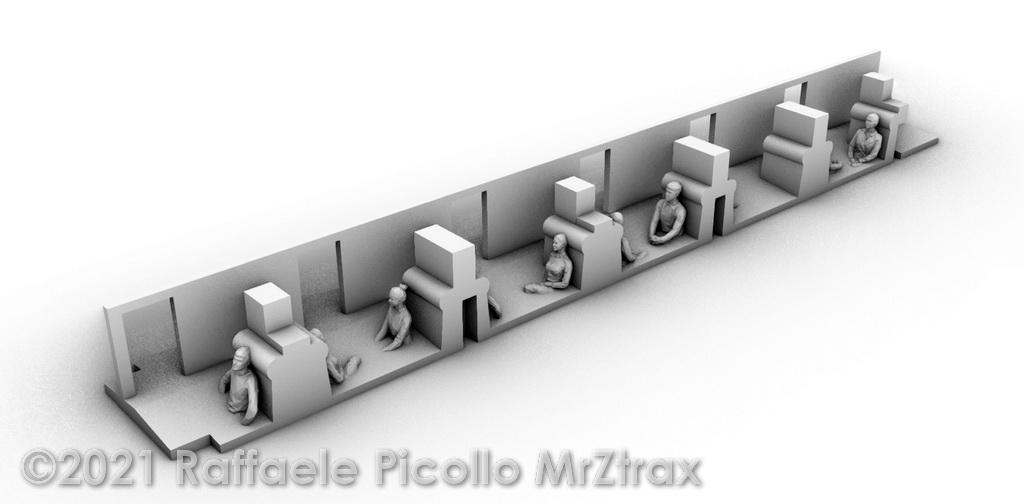
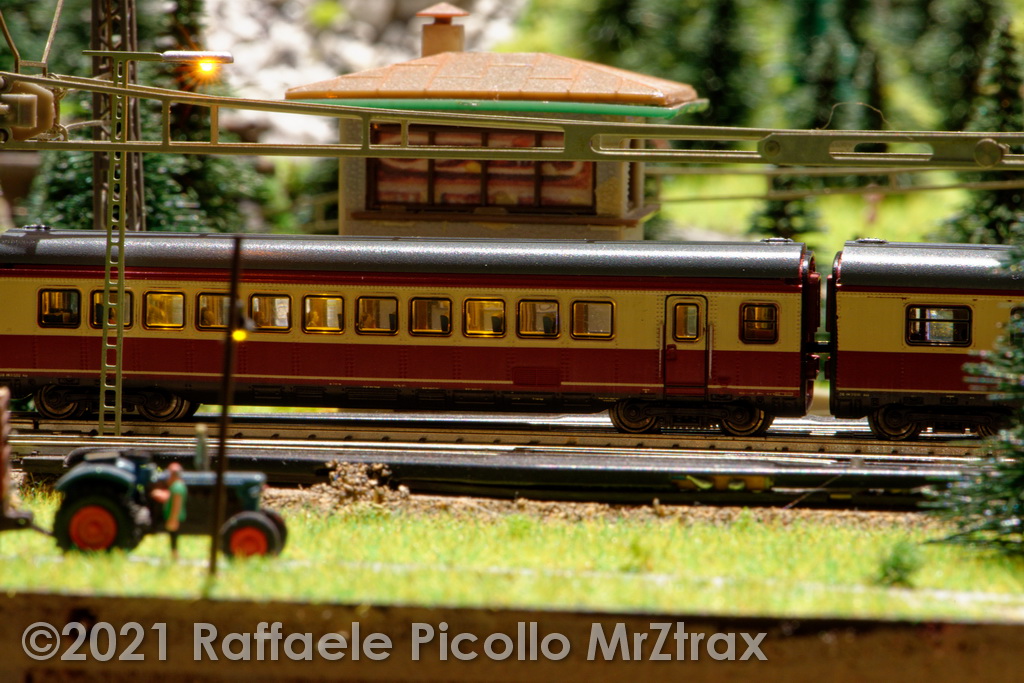
And here is the compartment carriage, also this slightly simplified but very faithful to the original, with the doors overlooking the side corridor.
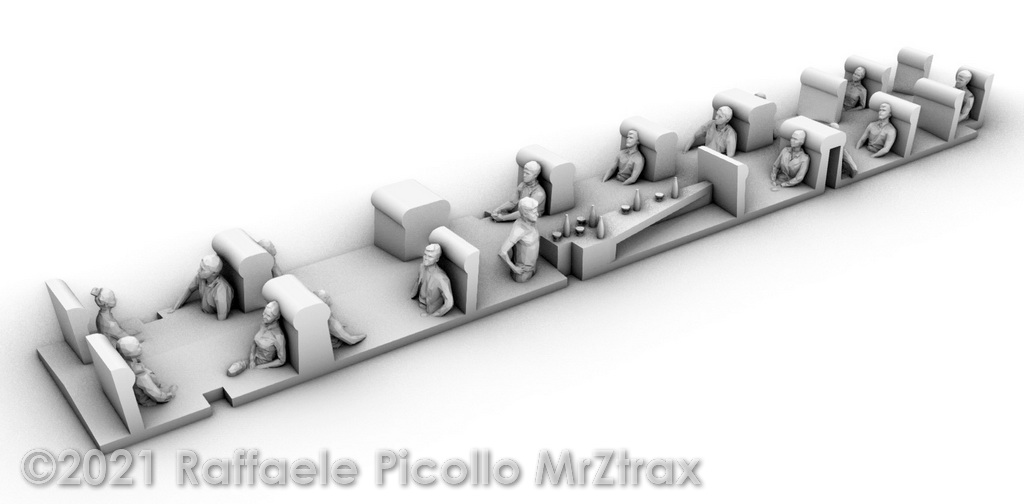
The first-class car is a single room with variously arranged seats. On the bar counter I enjoyed placing glasses and bottles which will then be visible through the windows.
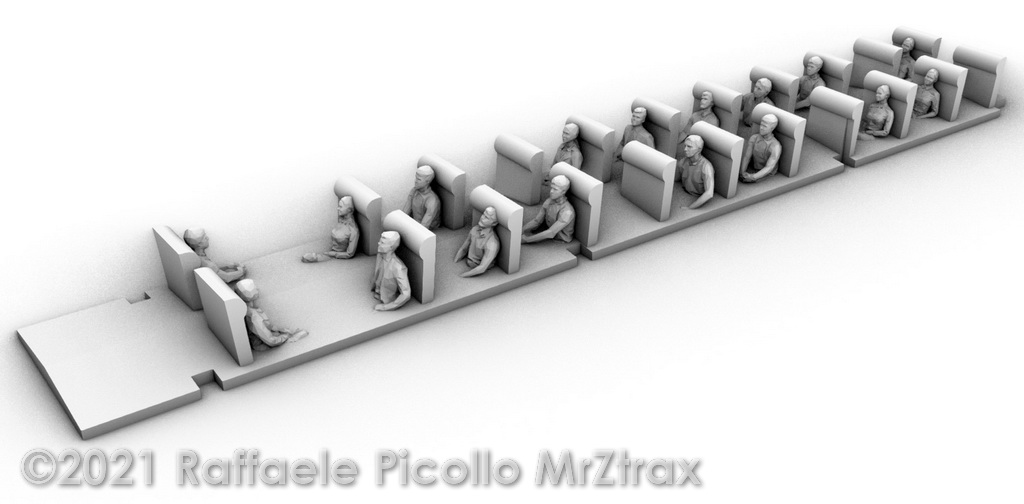
The saloon car also has some little simplifications. As for the other cars, in fact, the presence of the internal lighting system prevents the correct arrangement of the rows of seats which are limited to two per row, compared to 3 of the original train.
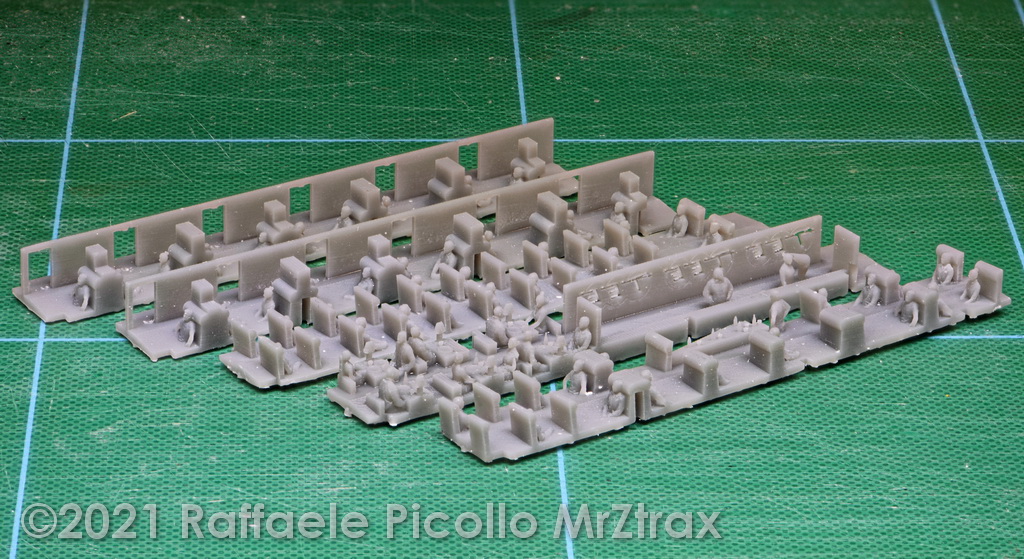
Once the printing has been performed, the supports are separated and the pieces are roughed, using sandpaper and micro grinding wheels. The surface is then prepared and a first installation is needed to check the correct placement, adapting the pieces to the existing joints.
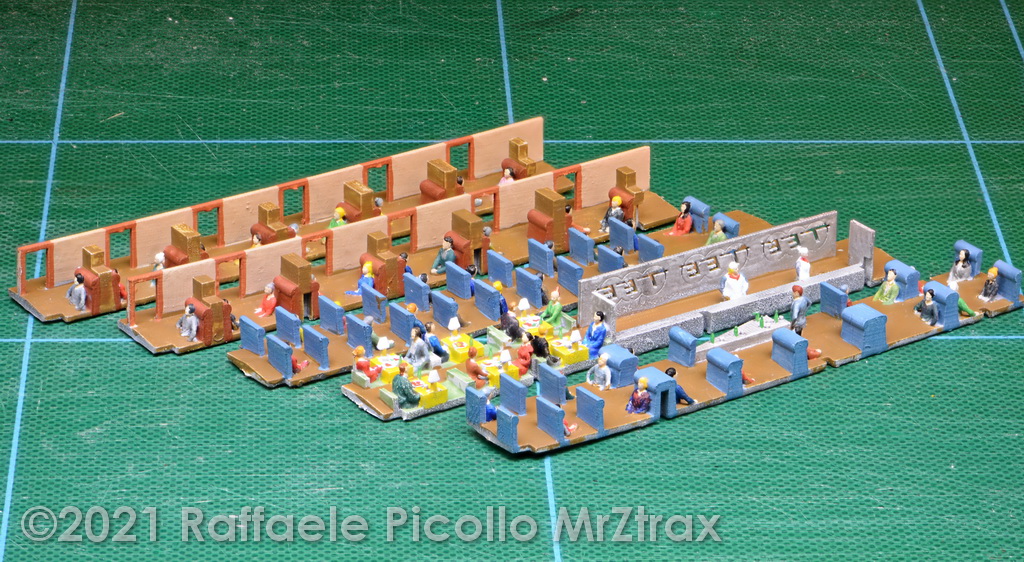
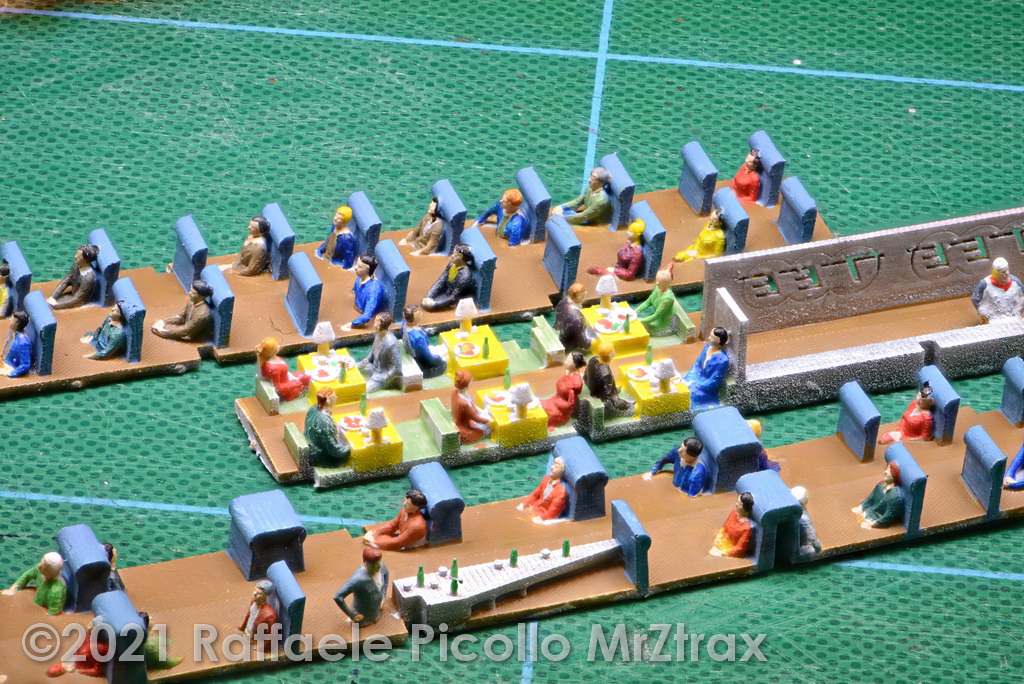
We then proceed to give a coat of acrylic base and to paint furnishings and figures. The original colors were a medium brown color for the interior upholstery, with the seats in a light blue/blue and a dark red. I have not reconstructed information about the restaurant and other details, so let's let the imagination run!
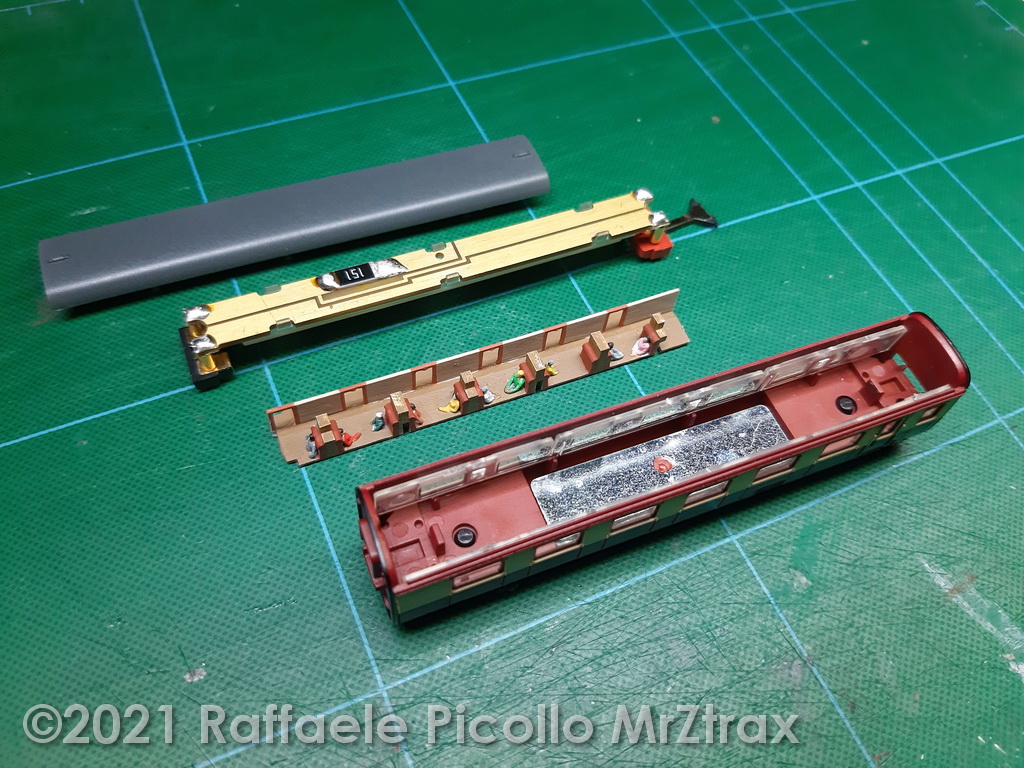
Carefully, the roof is removed from the cars, the lighting system is extracted and all the components are ready for assembly.
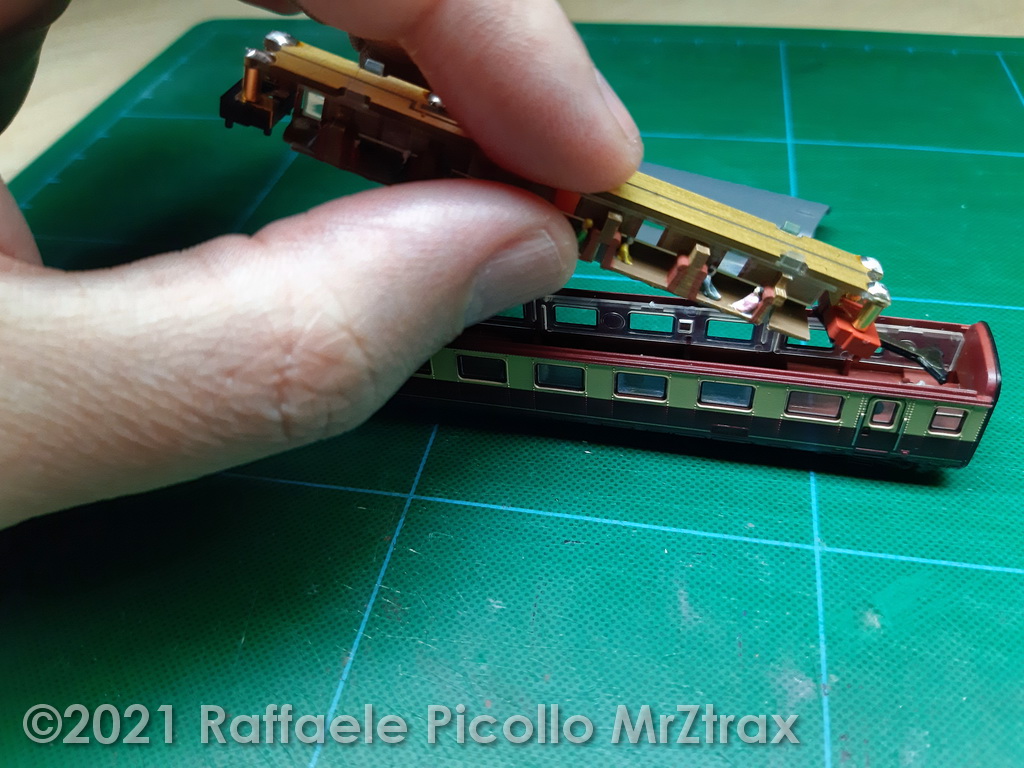
First the lighting circuit is inserted in the plate, then everything is installed inside the carriage, paying attention to the coupling hook (if the train has the system with the interlocking hook the operation is even simpler).
And here is the result. We finally have our train complete with furniture and figures!
